Setting up a community with the wizard
Get a new community ready: tax details, blocks, properties and bank accounts.
Once the community has been created, the setup wizard walks you through everything needed to make it operational: tax details, building structure, owners and bank accounts. You can leave at any point and pick up where you left off.
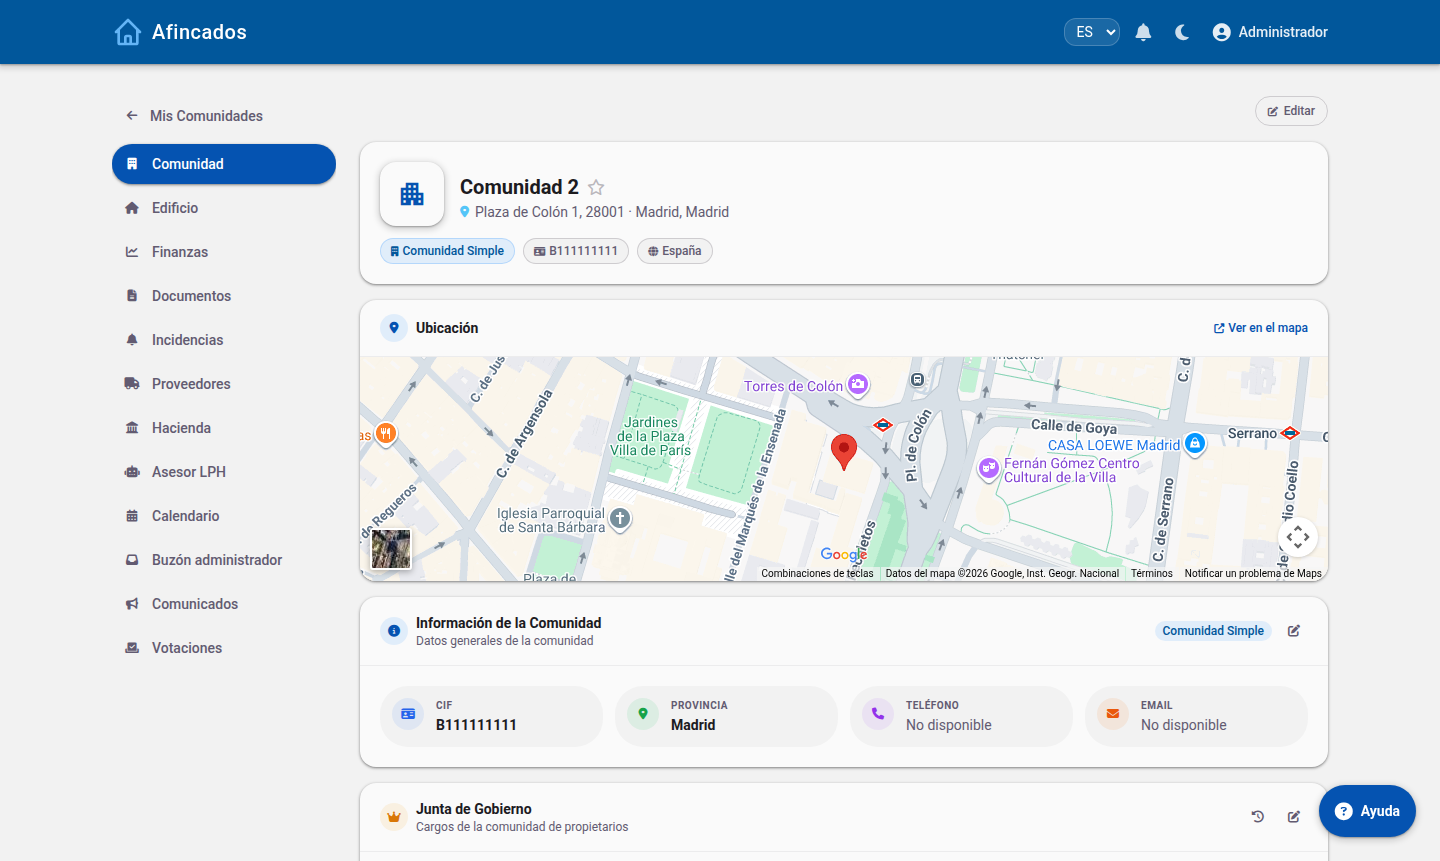
Before you start
- You need the administrator role in the community.
- Have the community tax number and its full address to hand.
- Have the community IBAN ready and, if you plan to use direct debits, the SEPA creditor identifier.
Step-by-step guide
Step 1: General details
Fill in the identification of the community:
- Name: the one that will appear on minutes, fees and communications.
- Tax number: required to issue direct debits and file tax forms.
- Address, postcode, city and country.
- Land Registry reference, if you want to import Land Registry data later.
Step 2: Building structure
Define how the community is physically organised: blocks or divisions, and the floors in each one. You will later use this structure to group properties and to split costs by division.
Step 3: Properties and owners
Register the units (flats, commercial premises, garages and storage rooms) with their ownership share. You can create them one by one, import them from a CSV file, or pull them straight from the Land Registry.
Step 4: Expense categories
Review the expense categories (cleaning, lift, maintenance, insurance and so on). Each category can be split across every property or only across those in a specific division, which lets you have costs paid, for example, only by the residents who have a lift.
Step 5: Bank accounts
Add the community bank account or accounts. You will be able to link them to the bank to sync transactions automatically, or import statements in Norma 43 format.
When you are done
Once you close the wizard the community is fully operational. The recommended next steps are:
- Invite the residents and send them their credentials.
- Appoint the board (president, vice-president and board members).
- Calculate the fees for the financial year.
Everything you entered can be changed later from Edit community.