Creating and setting up the community, users, owners and the board.
1.1 Create community
Updated on
15/09/2026
Creating a community is the first step to connect your members, centralize communication, and manage everything efficiently. In this article we will guide you step by step so that you can have your new community ready in just a few minutes.
How to create a new community from scratch
Welcome! Creating a community is the first step to connect your members, centralize communication, and manage everything efficiently. In this article, we will guide you step by step so you can have your new community ready in just a few minutes.
Prerequisites
Before you start, make sure to meet the following requirements:
Have an active account in the application.
Have the necessary permissions (Administrator or Creator Role).
Step-by-step guide
Step 1: Access the creation panel
Log in to the application with your credentials.
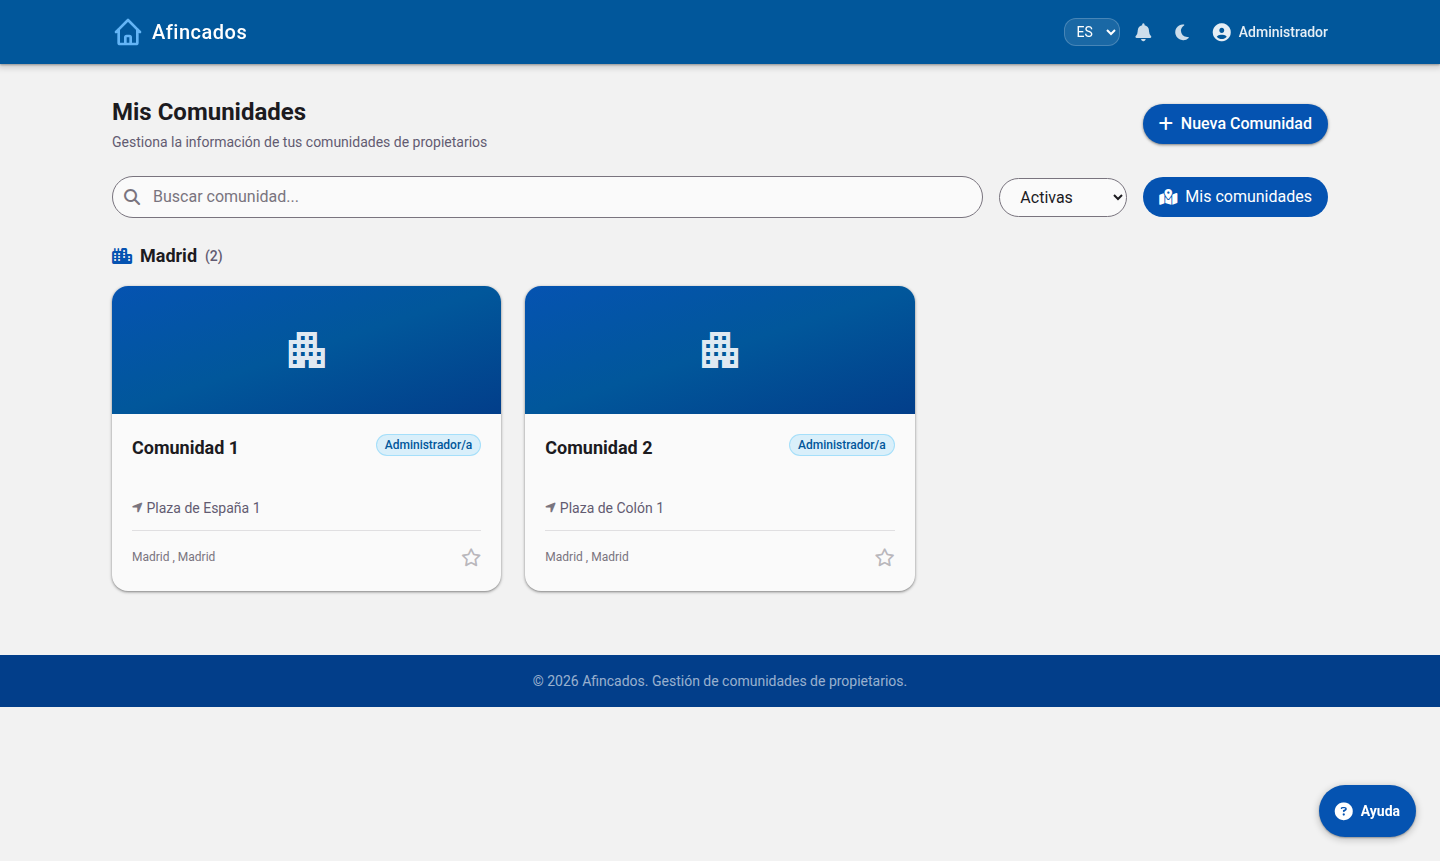
In the left sidebar menu, go to the section"My Communities".
Click the button"Create Community"(located in the upper right corner).
Step 2: Configure the basic information
Fill out the initial form with your community's data:
Community name:Choose a clear and recognizable name for your members.
Description:Briefly explain the purpose of this space (maximum 250 characters).
Profile photo/Logo:Upload an image in PNG or JPG format to give it a visual identity.
Step 3: Define privacy and access
Select the type of community that best suits your needs:
Public:Any app user can search for it and join.
Private:Users can find it, but they must request access to enter.
Hidden:Access is only possible via a direct invitation from the administrator.
Step 4: Finalize the creation
Review that all the data is correct and click the button"Save and Create". Done! Your community is now active.
Recommended next steps
Once your community is created, we suggest taking the following actions to start off on the right foot:
Invite members:Go to the "Members" tab and add your users via their email or by sharing the invitation link.
Configure channels/forums:Create the first discussion spaces to keep the information organized.
Post a welcome message:Write a pinned post on the main board to greet the new members and explain the basic rules.
1.2 Creating users and importing owners
Updated on
15/09/2026
Create users one by one or import them in bulk from CSV and send them their credentials.
Users are the people who can access the community. You can create them one at a time or import the whole list of owners at once from a spreadsheet.
Users and owners are managed from the Community tab.
Creating a user
Open the community and go to the Users tab.
Click Create user.
Fill in name, email address and phone number.
Give them a role within the community: resident, president, vice-president, board member or administrator.
Link them to their property or properties.
Save. The system generates a password and emails them their credentials.
Importing owners from CSV
If the community is new, importing the full list is by far the quickest route.
On the Users tab, click Import.
Download the template the application provides. Keep the columns as they are and do not change the header row.
Fill in one row per owner with their name, email, phone number and the property they own.
Upload the file. You will see a preview with the detected rows and any errors found.
Fix whatever is needed and confirm the import.
The application does not duplicate users: if an email address already exists in the community, its details are updated instead of creating a second account.
Sending and resending credentials
Every user receives their credentials by email when their account is created. If a resident cannot find them or their email address has changed, open their record and click Resend credentials: a new password is generated and sent again.
Editing or removing
Edit: lets you change contact details, the role and the linked properties.
Delete: removes the user from the community. You can select several and delete them in bulk.
When a home is sold, the usual approach is to remove the previous owner and create the new one, linking them to the same property so the fee history stays attached to the unit.
1.3 High community
Updated on
15/09/2026
You can create your community here with an assistant that will guide you step by step.
Welcome! Creating a community is the first step to connect with your members, centralize communication, and manage everything efficiently. In this article, we will guide you step by step so you can have your new community ready in minutes.
From «New Community» you create a community and start the setup wizard.
Assistant for creating a new community
Prerequisites
Before you start, make sure to meet the following:
Have an active account in the application.
Have the necessary permissions (Administrator or Creator Role).
Step-by-step guide
Step 1: Access the creation panel
Log in to the application with your credentials.
In the left sidebar menu, go to the section"My Communities".
Click the button"Create Community"(located in the upper right corner).
Step 2: Configure the basic information
Fill out the initial form with your community's data:
Community Name:Choose a clear and recognizable name for your members.
Description:Briefly explain the purpose of this space (maximum 250 characters).
Profile Photo/Logo:Upload an image in PNG or JPG format to give it visual identity.
Step 3: Define privacy and access
Select the type of community that best suits your needs:
Public:Any app user can search for it and join.
Private:Users can find it, but they must request access to enter.
Hidden:Access is only possible through a direct invitation from the administrator.
Step 4: Finalize creation
Review that all the data is correct and click the button"Save and Create". Done! Your community is now active.
Recommended next steps
Once you have created your community, we suggest performing the following actions to start off on the right foot:
Invite members:Go to the "Members" tab and add your users via their email or by sharing the invitation link.
Configure channels/forums:Create the first discussion spaces to keep the information organized.
Post a welcome message:Write a pinned post in the main board to greet the new members and explain the basic rules.
1.4 Managing the community board
Updated on
15/09/2026
Appoint the president, vice-president and board members, and review the history of appointments.
The community board holds the offices elected by the community. Beyond recording who holds each post, it also determines what each person can do inside the application: board members see the financial information and can act on incidents, meetings and minutes.
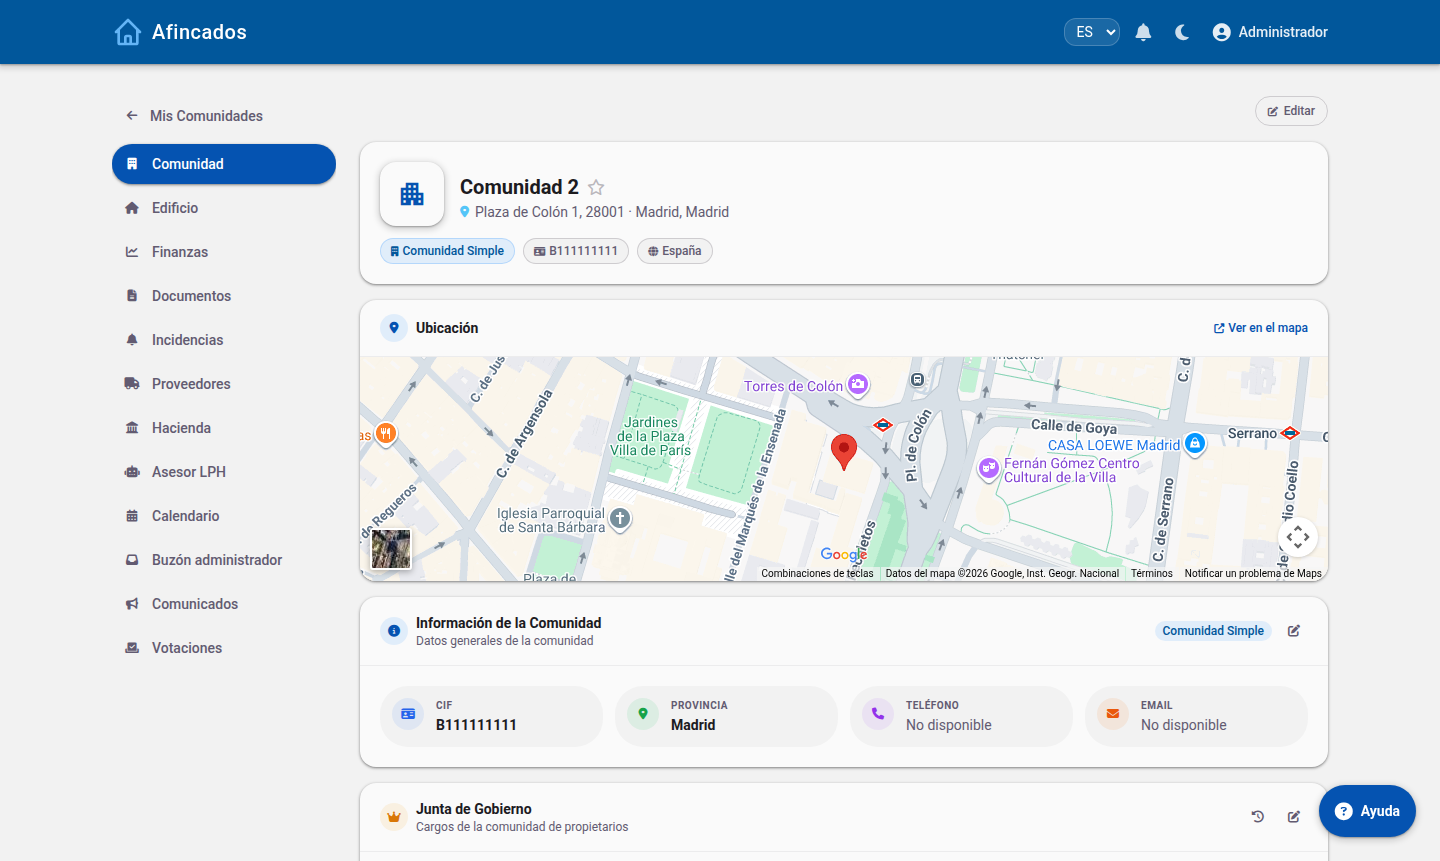
The «Board» block shows current positions and their history.
Available offices
President: represents the community, calls the meetings and signs the minutes.
Vice-president: stands in for the president when absent.
Board member: supports the board and helps follow up on agreements.
Administrator: the property manager, with full access to the management features.
Appointing or changing an office
Open the community and go to the Board tab.
Click Edit board.
Pick the office and, in the search box, the person who will hold it. Only users already registered in the community appear.
Enter the start date of the term, which normally matches the meeting where the appointment was approved.
Save.
When you assign an office, that person automatically receives the matching permissions: there is no need to change their role by hand.
Annual renewal
When the community renews its board, do not delete the previous holders: assign the new office with its start date and the application will close the previous term and store it in the history. That keeps a clear record of who was president at any given time, which is especially useful when reviewing old minutes.
Reviewing the history
From Board history you can see every office the community has had, along with its term. This is where you check who signed a particular set of minutes or who chaired the community in a past financial year.
Deleting an office
The Delete option should only be used when an appointment was entered by mistake, because it removes the record from the history. For a normal handover, appoint the successor rather than deleting the previous office.
1.5 Setting up a community with the wizard
Updated on
15/09/2026
Get a new community ready: tax details, blocks, properties and bank accounts.
Once the community has been created, the setup wizard walks you through everything needed to make it operational: tax details, building structure, owners and bank accounts. You can leave at any point and pick up where you left off.
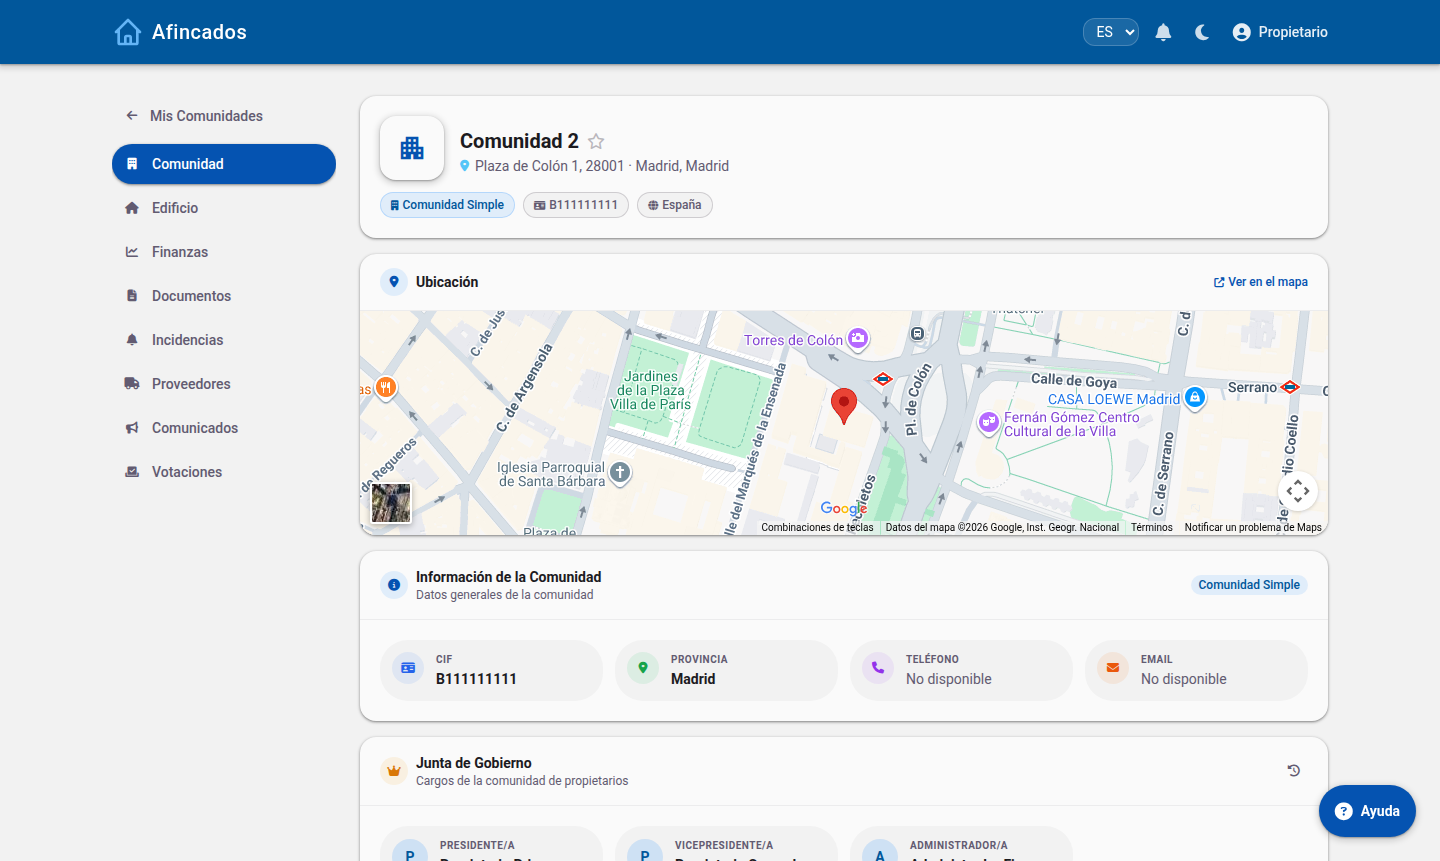
Once the wizard finishes, the community has its record, location and general details.
Before you start
You need the administrator role in the community.
Have the community tax number and its full address to hand.
Have the community IBAN ready and, if you plan to use direct debits, the SEPA creditor identifier.
Step-by-step guide
Step 1: General details
Fill in the identification of the community:
Name: the one that will appear on minutes, fees and communications.
Tax number: required to issue direct debits and file tax forms.
Address, postcode, city and country.
Land Registry reference, if you want to import Land Registry data later.
Step 2: Building structure
Define how the community is physically organised: blocks or divisions, and the floors in each one. You will later use this structure to group properties and to split costs by division.
Step 3: Properties and owners
Register the units (flats, commercial premises, garages and storage rooms) with their ownership share. You can create them one by one, import them from a CSV file, or pull them straight from the Land Registry.
Step 4: Expense categories
Review the expense categories (cleaning, lift, maintenance, insurance and so on). Each category can be split across every property or only across those in a specific division, which lets you have costs paid, for example, only by the residents who have a lift.
Step 5: Bank accounts
Add the community bank account or accounts. You will be able to link them to the bank to sync transactions automatically, or import statements in Norma 43 format.
When you are done
Once you close the wizard the community is fully operational. The recommended next steps are:
Invite the residents and send them their credentials.
Appoint the board (president, vice-president and board members).
Calculate the fees for the financial year.
Everything you entered can be changed later from Edit community.