Report faults, track them, assign suppliers and approve the work done.
1.1 Assigning, resolving and approving incidents
Updated on
15/09/2026
Hand the fault to a supplier, follow the work and approve the hours worked.
When a resident reports a fault, the property manager and the board are the ones who move it forward: they decide whether it stands, assign it to a supplier and approve the work once it is finished.
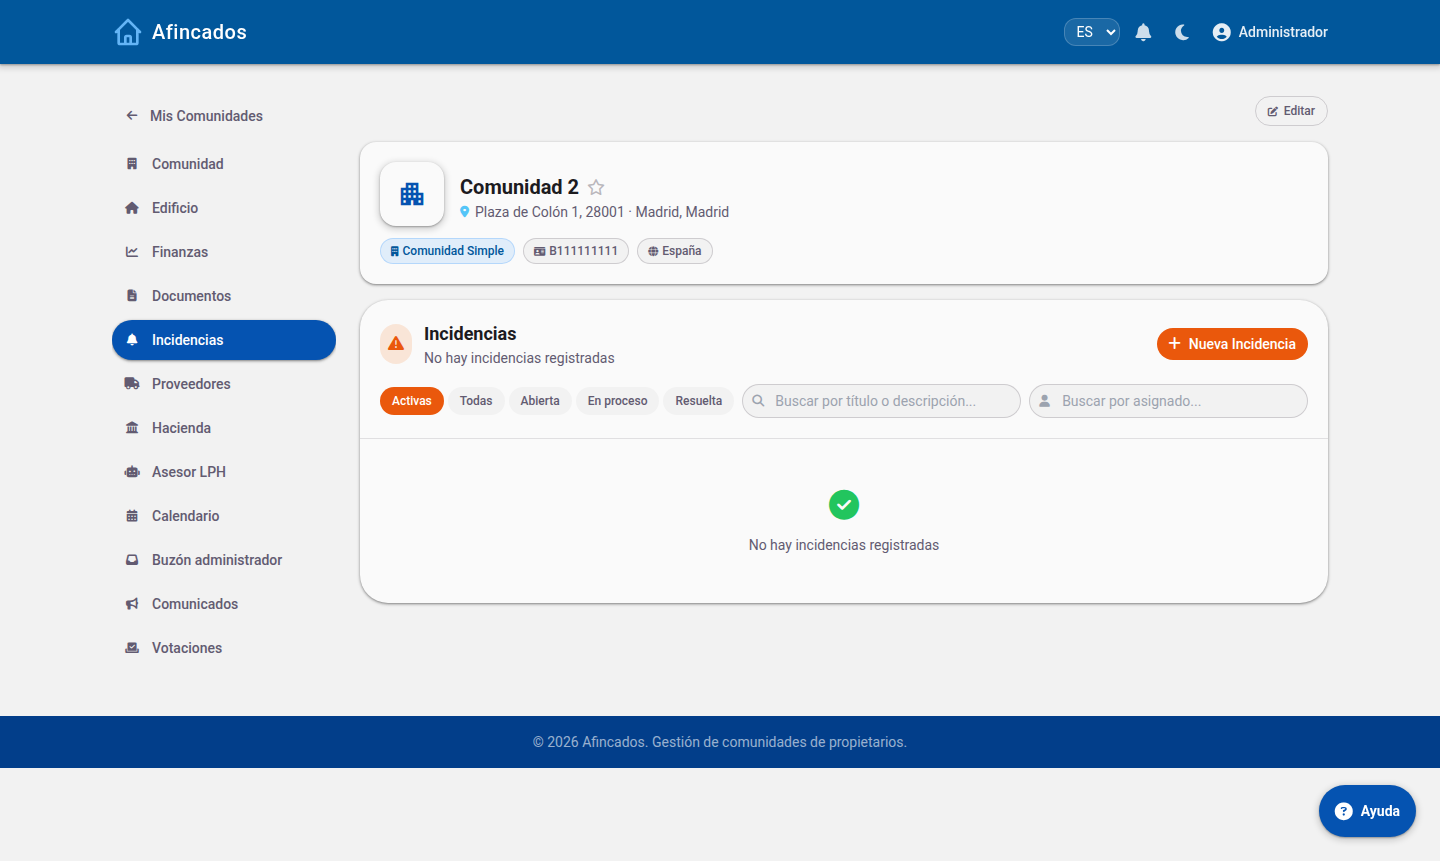
Active incidents are listed by default: click «All» to include resolved ones.
Seeing the open incidents
The community Incidents tab shows all the incidents for that community. If you manage several, the All incidents view shows those of every community you manage on a single screen, so you can prioritise by urgency rather than by community.
You can search and filter by status, category or date.
Assigning to a supplier
Open the incident.
Click Assign.
Select the supplier from the community list. If the supplier has workers registered, you can assign it directly to a specific worker.
Add instructions if needed and confirm.
The supplier receives an alert with the description, the photos and the location (including its position on the 3D model, if the resident marked it). The incident moves to Assigned and the resident who reported it is notified.
To change supplier, click Assign again and pick another one: the incident is reassigned without losing its history or its comments.
Resolving and closing
When the work is done, open the incident and click Resolve. Add a closing note explaining what was done: this is what the resident sees and what stays in the community history.
If the fault comes back, it is better to reopen the existing incident than to create a new one, so it is clear the problem is recurring.
Approving work logs
Workers record the hours they spend on each incident. Those work logs sit awaiting your approval before they can be invoiced.
Open Pending work logs in the community.
Review each sheet: who worked, on which incident, how many hours and what they did.
Click Approve if it is correct, or reject it stating the reason if the hours do not match the work done.
The work log report gives you the total hours per supplier and period, useful for checking an invoice before paying it.
Deleting an incident
Only duplicate incidents or ones created by mistake should be deleted. A genuine fault, even one that never gets repaired, is better closed with an explanatory note: the incident history is valuable information when you have to justify a levy or negotiate with a supplier.
1.2 Reporting an incident and tracking its progress
Updated on
15/09/2026
Report a fault with photos, pinpoint it on the building and follow it through to resolution.
When something breaks in the common areas (the entrance, the lift, the pool, the garage), do not report it in a message: create an incident. That way it is logged, the property manager can assign a supplier to it and you can follow its progress at any time.
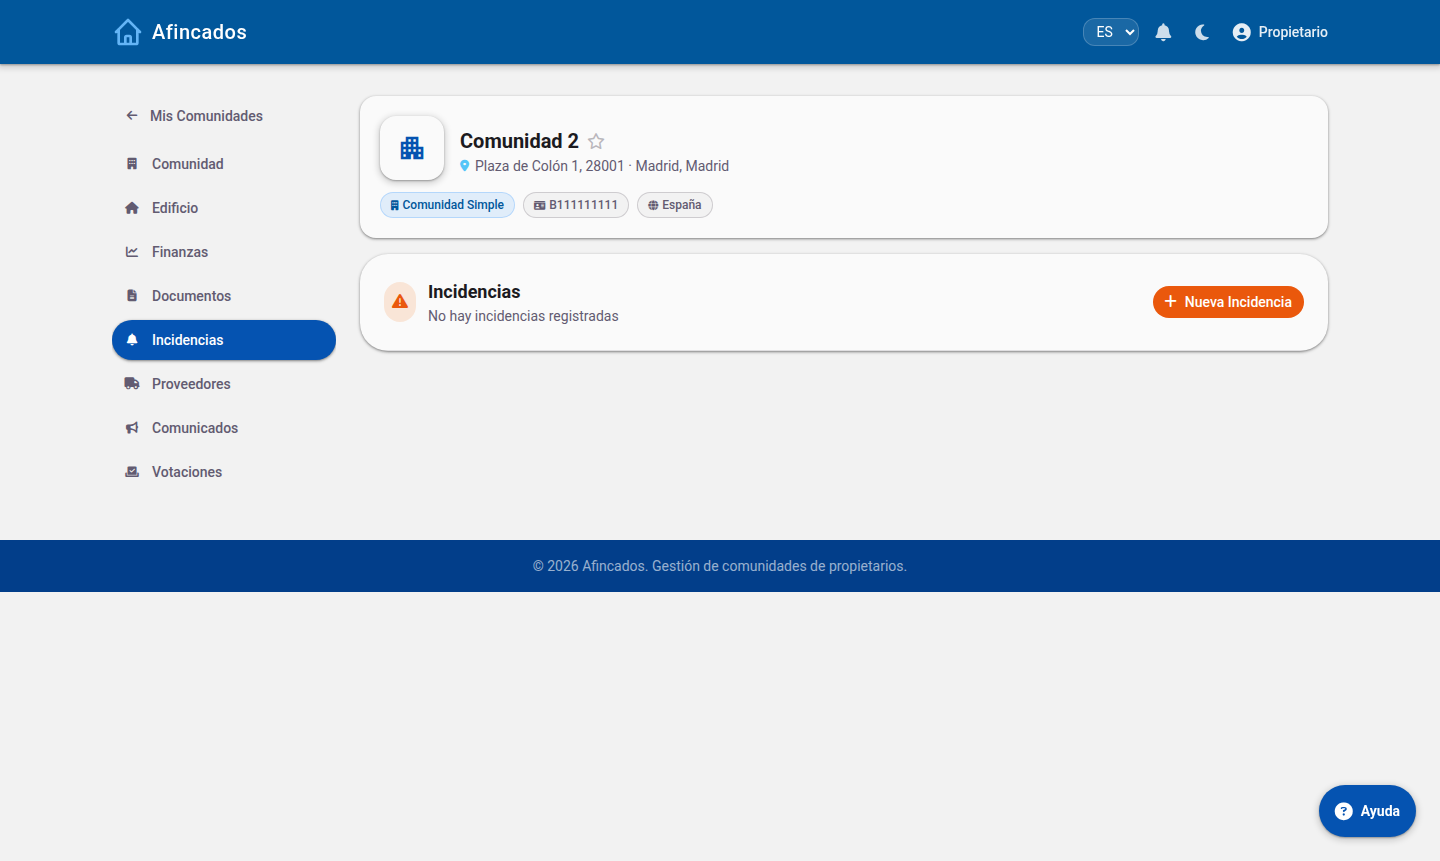
Click «New Incident» to report a problem and follow its status here.
Creating an incident
Open your community and go to the Incidents tab.
Click New incident.
Write a short, clear title ("The automatic entrance door will not close").
Choose the category: plumbing, electrics, lift, cleaning, gardening and so on. It is used to alert the right supplier.
Describe the problem in the details: what happens, since when and at what times.
Enter the location: the block, the floor or the common area affected.
Attach photos. This is what helps most: one picture saves visits and explanations.
Save.
The property manager and the board are alerted as soon as you create it.
Pinpointing it on the 3D model
If your community has the 3D model set up, you can use New incident in 3D: rotate the building, click the exact spot where the problem is, and the incident is flagged there. The supplier will know where to go without anyone having to show them.
Tracking its progress
Every incident moves through several statuses, shown on its record:
Open: reported, awaiting review.
Assigned: a supplier is now in charge of fixing it.
In progress: the supplier is working on it.
Resolved: the work is finished.
You get a notification at every status change, and you can post comments on the incident itself to add information or ask how it is going.
Editing or deleting an incident
Edit: while it is open you can correct its title, its description or add more photos. Useful if the problem gets worse or you find out something new.
Delete: only use this if you created it by mistake or duplicated it. If the problem simply sorted itself out, do not delete it: leave a comment and let the property manager close it, so the history is kept.
Tips to get it fixed sooner
One incident per problem: do not lump the lift fault together with the garage light bulb.
Search the list first: another resident may have already reported it and you may just need to comment on theirs.
If it is an emergency involving risk (a water leak, a smell of gas, someone trapped in the lift), call the property manager or the emergency services first, and create the incident afterwards.