Meeting notices, agenda, voting and signing of the minutes.
1.1 Calling a meeting and sending the notice
Updated on
15/09/2026
Create the meeting with its agenda and send the notice to every owner.
The meeting notice is the document that summons owners to a meeting. The application generates it, emails it to every resident and keeps a record of the send, which is what makes the decisions taken there valid.
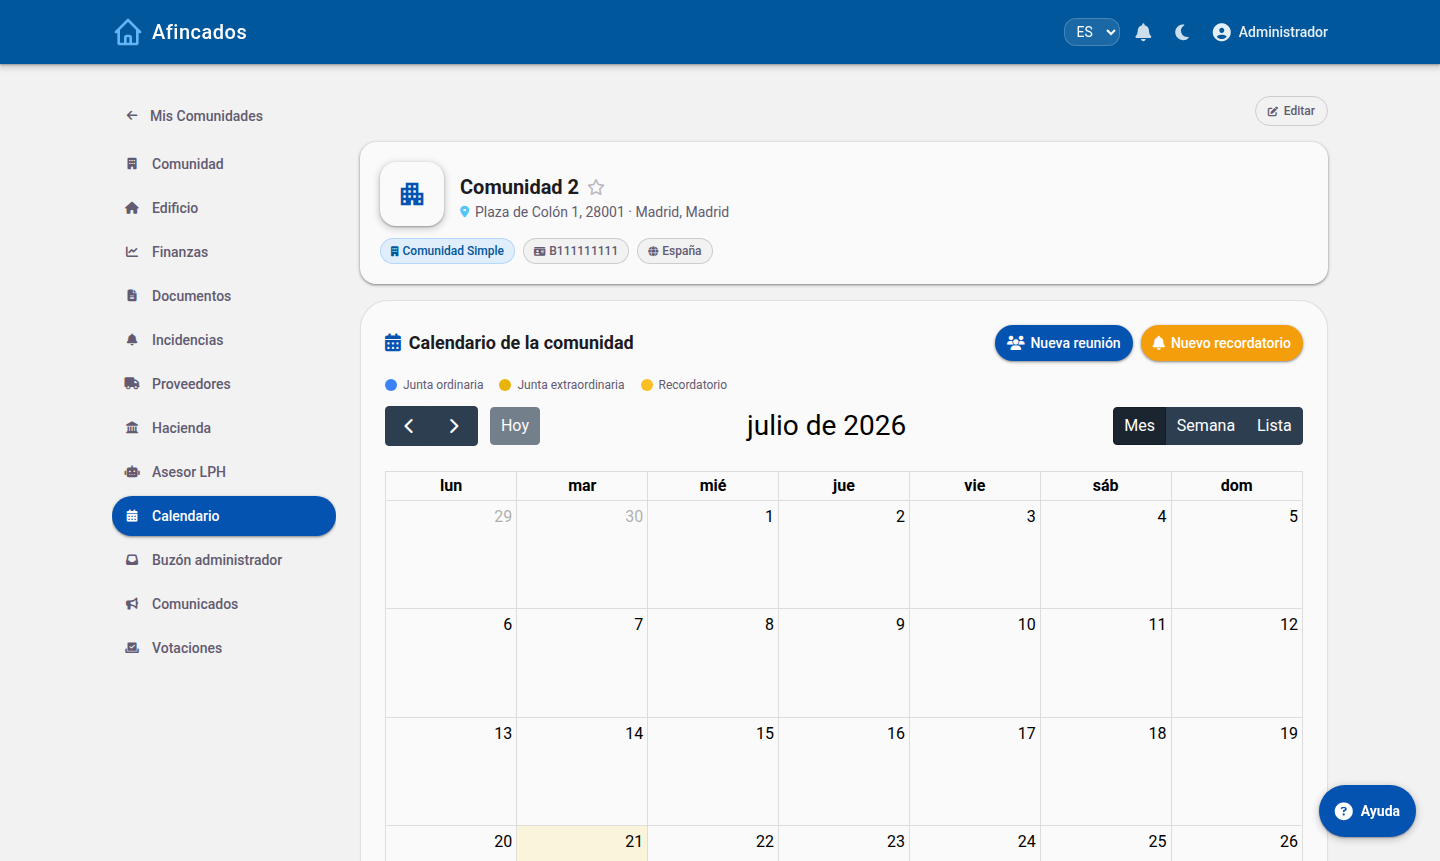
Meetings are called from the Calendar: ordinary, extraordinary and reminders.
Who can call a meeting
The property manager and the members of the board, usually the president.
Creating the meeting
Open the community and go to the Meetings tab.
Click New meeting.
Choose the type: ordinary (the annual one, to approve the accounts and the budget) or extraordinary (for a specific matter).
Enter the date and time of the first call and of the second one. The second is usually set half an hour later, in case there is no quorum at the first.
Write the venue.
Draft the agenda: add one item per matter to be discussed. Be specific, because no valid decision can be taken on a matter that is not on it.
Attach the necessary documentation: the budget, the annual report, quotes for building works and so on.
Save.
The meeting is created as a draft: nobody can see it yet.
Editing before you send
While it is still a draft you can edit the meeting freely: change the date, reorder the agenda items, add documents or reword anything. Review it carefully, because once the notice has gone out it should not be changed.
Sending the notice
Open the meeting and click Send notice.
Check the preview of the email residents will receive.
Confirm the send.
Every owner receives the notice by email and a notification in the application. The PDF is also published in the community for anyone who wants to download it.
If a resident says they did not receive it, use Resend notice: it goes out to them again without bothering everyone else.
Cancelling a meeting
If the meeting has to be called off, edit it and mark it as cancelled, or delete it if it was still a draft and nothing had been sent. Once the notice has gone out, it is better to cancel it than to delete it, so there is a record that it was called and then called off, and to let residents know with a message.
1.2 Producing, signing and publishing the minutes
Updated on
15/09/2026
Record the decisions taken, sign them digitally and distribute them to residents.
The minutes are the document recording what was agreed at the meeting. Without signed minutes, the decisions cannot be enforced. The application produces them from the agenda and the votes, and lets you sign them digitally.
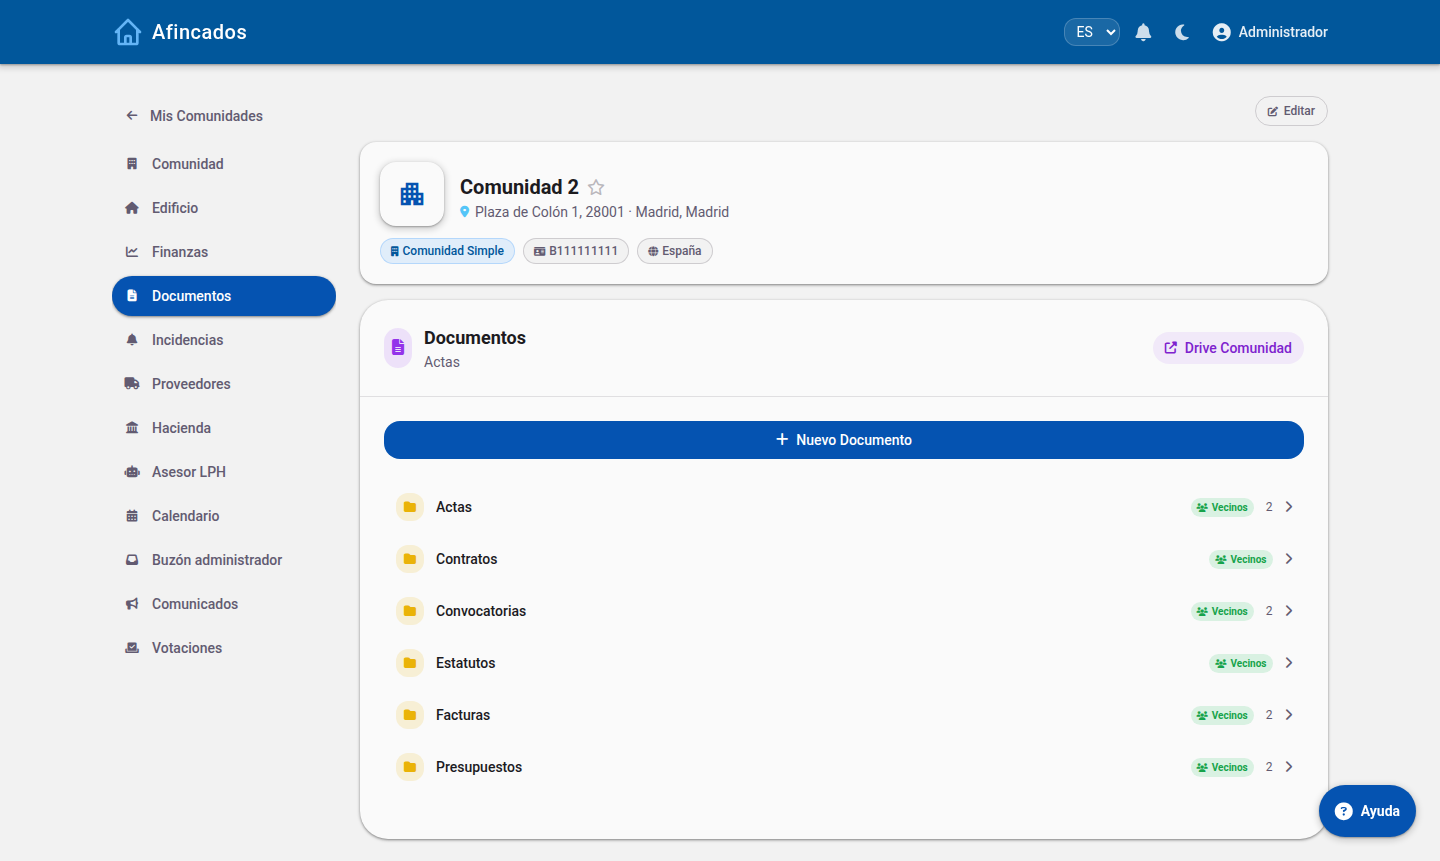
The signed minutes are published in the «Minutes» folder, visible to residents.
Producing the minutes
Open the meeting that has already taken place, from the Meetings tab.
Click Generate minutes.
Record the attendees: tick who came and who gave their proxy to another owner. The application works out the quorum by ownership share and warns you if it is not met.
Go through the agenda items. For each one, note the discussion and the outcome of the vote: votes in favour, against and abstentions, both as a number of owners and as an ownership share.
Write up the decisions clearly: this is the part that will be acted on afterwards.
Save.
The minutes stay as a draft. You can edit them as many times as you need while they are unsigned, so take your time reviewing the wording.
Signing the minutes
Once the content is final, click Sign. They are signed by the president and the property manager or secretary:
Each signatory signs in with their own account and opens the minutes.
They click Sign and draw their signature in the box or confirm it with their digital certificate.
The minutes are sealed with the date and the identity of each signatory.
Once signed, the minutes cannot be changed. If a mistake comes to light afterwards, do not delete them: it has to be corrected by a formal amendment or raised as an item at the next meeting.
Publishing and distributing
When signed, the minutes:
Are published automatically on the community Documents tab.
Are sent by email to every owner.
Trigger a notification in the application.
Any resident can download them as a PDF whenever they like, including the minutes of meetings from previous years.
After the meeting
Decisions involving money (an approved levy, a fee increase) are not applied on their own: remember to create them on the Fees tab, referencing the minutes that back them up.